


Yates Account
Join now
Create a Yates account today!
Sign up to join the Yates Garden Club for monthly e-mails packed with seasonal inspiration, tips for success & exclusive promotions.
Plus if you’re a Garden Club member you can take part in the Yates Growing Community - a blog to share successes, get advice & win prizes in fun challenges along the way!
Forgot password
Enter the email address associated with your account, and we'll email you a new password.

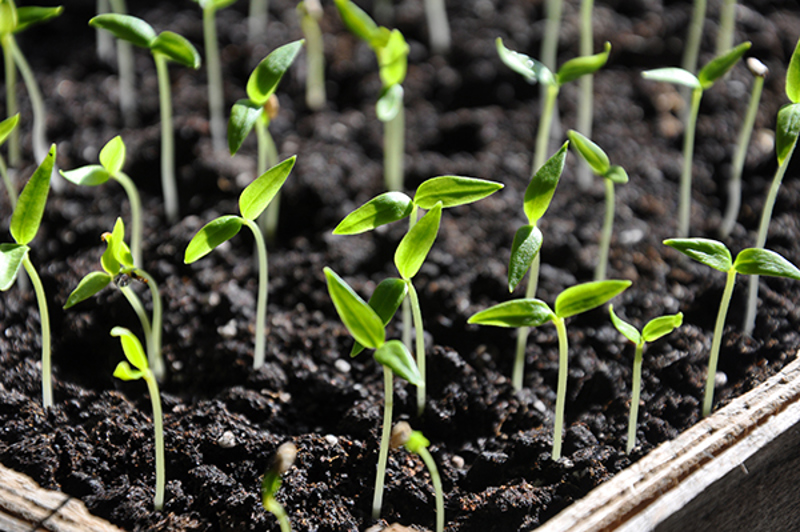
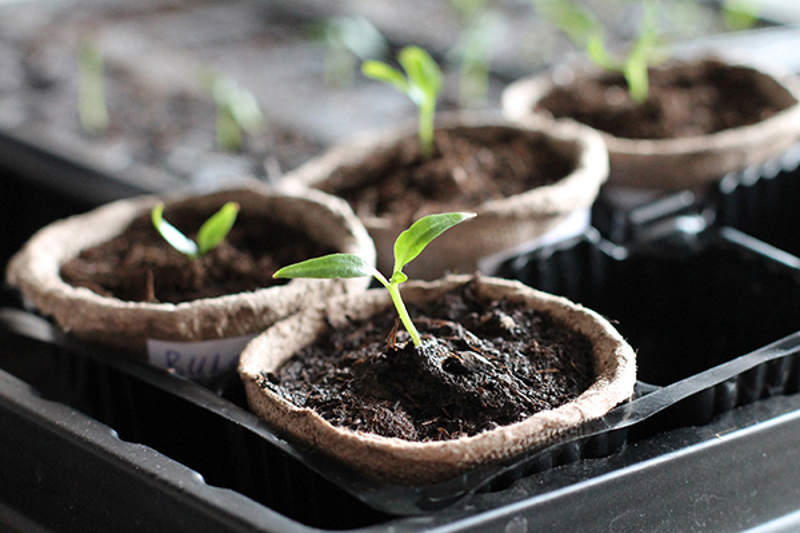
Growing plants from seed is really satisfying. It’s a real pleasure to watch tiny seedlings emerge when you’ve sown them yourself.
Growing from seed is certainly the most economical way to garden if you’re keeping an eye on your spending, because one packet of seed can deliver loads of plants. You’ll often have more seedlings than you need and be able to give them to friends and whānau.
On top of that, you have a wider selection of outstanding varieties to choose from, and it gives you more control over timing. You can grow exactly what you want, in just the amount you need, right when you need them.
Some plants are easy to grow from seed, others require a bit more patience or expertise. Our seed packs contain helpful information on when and how to sow, plus additional tips on any special requirements.
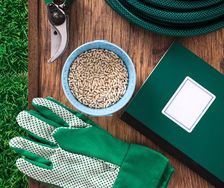
Here are the basics of seed sowing to get you started.
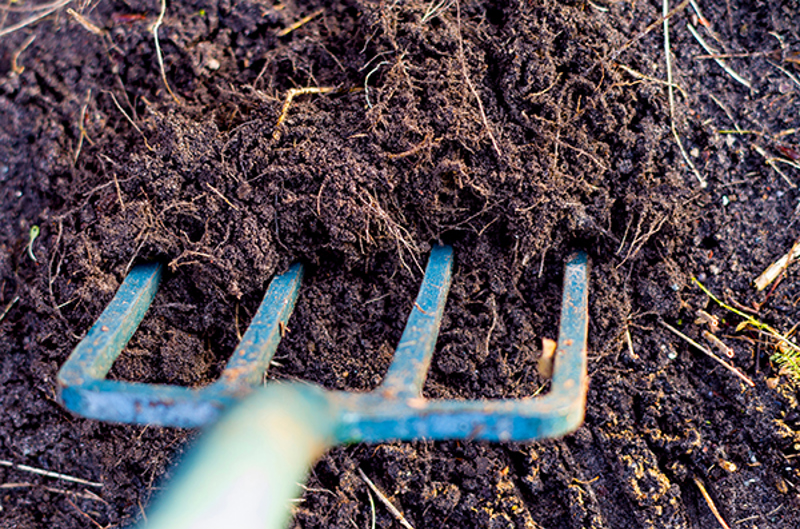
Step 1 - Prepare the Soil or Potting Mix
Many plants with large seeds, like peas, beans and sweet corn, are best sown directly where the plants are to grow. Plants with small seeds, like broccoli and cabbage, should be sown into punnets or small pots of Yates Black Magic Seed Raising Mix and the seedlings later transplanted into their final position. The back of the seed packet will tell you which option, direct sowing or transplanting, is best. Seed-raising mix is recommended when growing seedlings in punnets, trays or pots, because it has a fine texture to improve contact between seeds and soil, and it helps keep the seeds moist as they germinate.
Before sowing seeds directly into the garden, prepare the soil. About three weeks before you’re ready to plant, work a fork into the earth and loosen the whole bed down to about 30cm deep. Add a 2-3cm layer of material from your compost pile and rake the surface of your garden until it has no weeds, dirt clumps, or big stones. Over the next three weeks, pull any weeds that come up. Raking and then letting the bed sit for a few weeks flushes out weed seeds that were lurking in the soil.
After you’ve prepared the bed, improve and enrich the soil by mixing in handfuls of Yates Dynamic Lifter Soil Improver & Plant Fertiliser. The rich organic matter and gentle nutrients will help give the new plants a great start. Seeds can be sown straight away into the improved soil – there’s no need to wait now.
Sowing seeds into a container is much easier, just choose a well-drained pot or tray and fill with a quality potting mix like Yates Premium Potting Mix.
Step 2 - Moisten the Soil or Potting Mix
Gently water to moisten the soil, potting mix or seed-raising mix. Watering before sowing rather than afterwards helps protect seeds from being swamped or washed out of the soil or potting mix.
Step 3 - Make a Hole or Furrow
Some seeds, like carrots, are best sown in furrows (rows). Other seeds, such as sweet corn and zucchini, should be sown into individual holes. The seed packet will tell you which sowing technique is best.
Make the holes or furrows as deep as indicated on the seed pack (sow depth) and at the recommended spacing. Sowing depth is important because seeds sown too deep or too shallow may fail to grow. In general, larger seeds like beans are sown deeper than tiny seeds, such as poppies. Some seeds, such as cineraria, require light to germinate and are only just pressed into the surface of the soil or potting mix.
Note that gardens don’t need to look like soldiers on parade. If you like symmetry, you can set out nice regular furrows or rows with a hoe or hand trowel; but there’s nothing stopping you from interspersing rows, or just dotting in plants wherever you want. If you’re going to be spending time in it, your garden may as well reflect your personal sense of style.
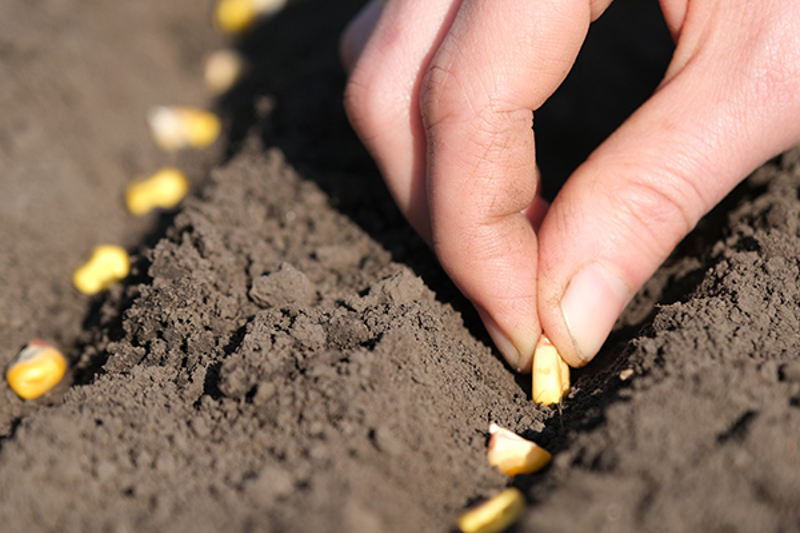
Step 4 - Sow the Seeds
Sprinkle seeds along the furrows or drop two or three seeds into each planting hole. The seed packet tells you how far apart to plant them. If you plant too closely, you can thin them out after they come up. If they’re vegies, you can usually eat the thinnings.
Step 5 - Cover Lightly with Soil
If you don’t have your seed packet, you can estimate the sowing depth by the size of the seed. Fine seed should be barely covered. Medium-sized seed can be planted to a depth of about 6mm. Larger seeds are planted more deeply. Peas and beans, for example, can be planted 25mm deep.
As a rule of thumb, bury seeds only about as deep as their diameter. Sprinkle fine soil on top of the seeds, pressing them gently to ensure they have contact with the soil. A flat piece of wood is ideal for this job. Some seeds, such as lettuce and dill, need light to sprout, so cover these types sparingly.
Step 6 - Keep Warm, Protected & Moist
When growing your own seedlings in pots or punnets, place them in a warm, brightly lit wind protected spot. Keep the seed raising mix consistently moist, but not wet. Seedlings can be transplanted into their final position once they’re large enough to handle.
For garden beds and pots, keep the soil or potting mix consistently moist. Lack of moisture can result in seeds failing to germinate or seedlings dying. The exception to this moisture rule is when growing beans and peas, as overly wet soil or potting mix can result in the seeds rotting. Keep the soil only slightly moist.

Step 7 - Early Seedling Care
Watering Seedlings
Seedlings have a tiny developing root system that limits their access to moisture, so keep the soil or potting mix moist while they establish. This is especially important for transplanted seedlings because they’ll also be suffering from ‘transplant shock’ after being moved from a seedling tray or punnet into their final position. Seaweed is excellent to help reduce transplant shock as it contains cytokinins and other plant hormones that stimulate plant roots; use Yates Thrive Natural Seaweed Tonic as a root drench when transplanting.
Protecting Seedlings from Snails & Slugs
Young seedlings in the garden are especially vulnerable to snails and slugs. As the seedlings emerge, protect them by lightly sprinkling some Yates Blitzem around them.
Feed Seedlings
Once the seedlings are established, usually after 4-6 weeks, start regularly feeding with an appropriate fertiliser. For example, Yates Thrive Vegie & Herb Liquid Plant Food for vegies and herbs, Yates Thrive Roses & Flowers Liquid Plant Food for flowering plants, or Yates Thrive All Purpose Liquid Food will cover almost anything you have growing.
Secrets to Successful Seed Raising
There are a few key things to consider when germinating seeds. These include sowing depth, light, soil moisture, and soil temperature.
Seed Sowing Depth
The depth seeds should be sown at varies and usually depends on the size of the seed. Fine seeds (e.g., lettuce and snapdragons) should be barely covered; medium-sized seeds (e.g., capsicum and tomato) should be planted to a depth of about 6 mm; and large seeds (e.g., peas and beans) are planted more deeply, to a depth of about 25 mm. Check the back of the seed packet for information on how deep to sow the seed.
Seeds that Need Light to Germinate
Some tiny seeds need to be exposed to light for germination to occur.
Press light-loving seeds into the surface of moist seed-raising mix. Cover with cling wrap or a sheet of glass. Position the container in bright shade. Water by misting with a fine spray, or by soaking the base of the container in a tray of water.
Examples of seeds that need light to germinate are ageratum, alyssum, antirrhinum, aquilegia, begonia, campanula, coleus, feverfew, impatiens, petunia, primula, salvia, stock, and lettuce.
Seeds that Need Darkness to Germinate
Some seeds need to be totally protected from light. To propagate dark-loving seeds, cover them with a sheet of newspaper or cardboard and remove it as soon as they germinate.
Examples of seeds that need darkness to germinate are calendula, cornflower, delphinium, forget-me-not, gazania, nasturtium, pansy, schizanthus, sweet pea, verbena, viola, and coriander.
Soil Moisture Requirements
Fine seeds, e.g. poppies, are sown shallow, so they’re much more likely to dry out. These should be watered frequently, to keep the soil or potting mix moist.
Large seeds (e.g., sweet peas, sweet corn, peas, beans and broad beans) need moist soil but not saturated, so avoid watering them if the soil remains moist, or until the seedlings emerge. Don’t pre-soak these seeds.
Slow-to-germinate seeds (e.g. pansy which takes 21-28 days to germinate) need constant moisture and can't be allowed to dry out.
After the seedlings emerge, water them thoroughly but less frequently, to encourage the development of good strong roots.
Soil Temperature Requirements
Soil temperature is critically important for successful germination. Some seeds need cool-to-cold soil to germinate, while others need warm soil (at least 20°C). Seed packets will indicate the best time of year for sowing in your local climate.
For seeds that need warm soil, wait until the soil temperature is consistently high enough before sowing direct in the garden. Cool soils cause many failures of warmth-loving plants (e.g., tomatoes and beans) that are sown too early in spring.
To overcome inconsistent soil warmth, seeds can first be sown into seed trays or pots and grown in a warm, sheltered position. When the soil warms up, the seedlings can be transplanted out into the garden.
One way to protect seedlings from the cold is to grow them in pots and cover them with a plastic bag, that’s sealed around the pot rim to create a tiny glasshouse. Then you can place the pot on a gentle source of heat – like a hot water cylinder or on top of a fridge, until they’ve germinated. Once the seedlings have established, remove the plastic bag and harden the plants off outdoors.


Yates Black Magic Seed Raising Mix
Specially formulated for trouble-free seed raising in trays (or outdoor seed sowing direclty into the ground) and propagation of cuttings.
More project guides & articles

Roots & shoots for winter planting
There are plenty of vegies you can plant in the cooler months. They're tasty, interesting and look great on a plate, too.

Sustainable Gardening
Gardening is a great way of living sustainably. Here are some more ideas on how you can garden sustainably.

Vegetable Companion Planting
Discover how you can use companion plants to help attract beneficial bugs and deter pests from your garden.

Top 10 herbs
Our guide to the must-have herbs for your kitchen garden. Herbs are life!
Share
Share this article on social media