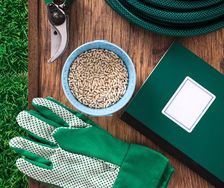


Yates Dynamic Lifter Organic Plant Food
Releases nutrients slowly, improves the structure and moisture retention of the soil and encourages earthworms and beneficial soil micro-organisms.
Create a Yates account today!
Sign up to join the Yates Garden Club for monthly e-mails packed with seasonal inspiration, tips for success & exclusive promotions.
Plus if you’re a Garden Club member you can take part in the Yates Growing Community - a blog to share successes, get advice & win prizes in fun challenges along the way!
Enter the email address associated with your account, and we'll email you a new password.
Winter is rose time. This seems an odd concept, with most roses being bare of both leaves and flowers throughout the cool months. But it’s an apt term, because most seasonal rose activity, especially pruning and planting, takes place in winter.
The reason winter’s the star season in the rose calendar is because roses are deciduous. This means that their roots and tops become dormant in winter. While they’re in this state, they can be cut back, or lifted and transplanted with little risk.
Most roses are produced by growers in the ground, in nursery beds. The vigorous rootstock (also known as understock) is grown first and a year later the desired rose (also known as the 'scion') is bud-grafted onto it. The rose is grown on for another season to let the bud strengthen, until the following winter when the top of the rootstock is pruned back completely, just above the new bud. This stage of growth is called a 'maiden' plant. The resulting strong roots ensure the rose plant develops more quickly and has much more vigour than a plant grown on its own roots.
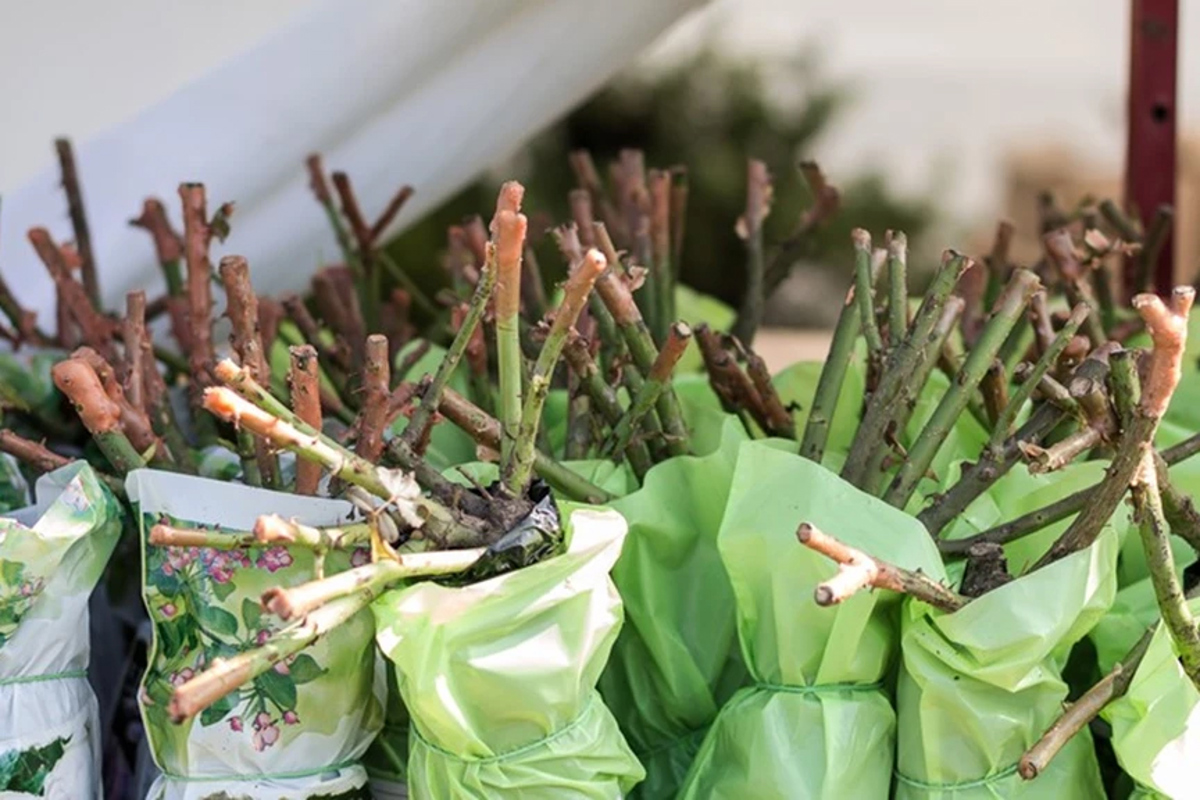
When the rose is at a good size, it’s taken out of the ground in its dormant period and prepared for sale with no soil at all around its roots. It’s a lot easier to transport them bare-rooted than if they were in a pot. These days, rose roots mostly come packed into moisture-retaining material and wrapped in plastic. At this stage your rose is a bunch of thorny stems that don’t look very inspiring or attractive, but will usually produce ample blooms in the first year.
When you’re buying packaged roses, look for plump, satiny-textured stems - pass on anything with puckered or shrivelled-looking stems. Also avoid bare roses with well-developed looking new shoots (this can indicate they've been stored in warm conditions, which means they won't thrive when you plant them out). Don’t worry too much if the rose has only one single cane, or if the canes are a bit lop-sided. Choose your plant primarily for its roots; good strong roots are far more important than a shapely looking top.
It's very standard for roses to be sold in pots, which allows you to plant outside the winter window of opportunity. If you're shopping for potted roses, look out for plants in decent-sized pots or bags; a generous volume of potting soil makes a healthier plant. You can't see the roots, so it's OK now to choose based on looks. Does the plant seem healthy and happy? Look past the display of flowers and go for plants with the strongest new growth of stems.
Ideally you should have your rose bed ready well before purchasing the rose. Choose an area that hasn’t grown roses before. A sunny position is vital, we can't emphasize that enough! Your spot needs to get sun for at least half a day, preferably more. Morning sun is best. The more shaded your rose is, the more likely it will be a magnet for pests and diseases. The perfect spot is also sheltered from strong wind.
Good soil drainage is a must. Roses really don't like saturated heavy clay, but at the other extreme, they aren't keen on light sandy soil if it drains too fast. The good news is you can amend either of these soils by digging in plenty of organic matter. If you cultivate deeply with compost, well-aged manure, straw or garden clippings the soil will improve. If you have heavy clay soil, mix in some gypsum as well to help improve aeration around the roots.
Dig the soil over to a depth of 20-25cm, adding in compost, blood and bone or well-aged manure as outlined above. Yates Dynamic Lifter Organic Plant Food can be incorporated into the planting soil.
The day before planting, water well to moisten the soil, then allow to drain. Next day, unwrap the rose, remove the packaging material and sit the roots in a bucket of diluted Yates Thrive Natural Seaweed Tonic. This hydrates the roots and cleans off any unwanted soil or packaging.
While the rose is soaking, dig the planting hole, wide enough to spread out the roots in. The hole needs to be deep enough so the bud union (the bump at the base of the plant where the scion was grafted onto its rootstock) stays just above ground level when it is filled. If you aren't sure just make the hole a little deeper, you can always put a bit of soil back in to get the right height. Now you create a small cone-shaped mound in the base of the hole. Take the rose out of the bucket and spread the roots over and down around the mound. Adjust the mound height until the bud union is just above ground level; a stake laid across the top of the hole helps visualise where the soil level will be. Backfill the soil gently around the roots.
Water well to eliminate air pockets. Apply a layer of organic mulch, like bark chips or pea straw, around the new rose, keeping the mulch a few centimetres away from the stem.
Keep the soil moist while the new rose establishes.
When the rose begins to shoot in spring, feed regularly with Yates Thrive Rose & Flower Granular Plant Food and spray sap-sucking insects with Yates Rose Gun Spray Ready to Use. Remember roses are greedy little beasts, so fertilise regularly and generously to get the best out of them.


Share
Share this article on social media