Yates Account
Join now
Create a Yates account today!
Sign up to join the Yates Garden Club for monthly e-mails packed with seasonal inspiration, tips for success & exclusive promotions.
Plus if you’re a Garden Club member you can take part in the Yates Growing Community - a blog to share successes, get advice & win prizes in fun challenges along the way!

Forgot password
Enter the email address associated with your account, and we'll email you a new password.
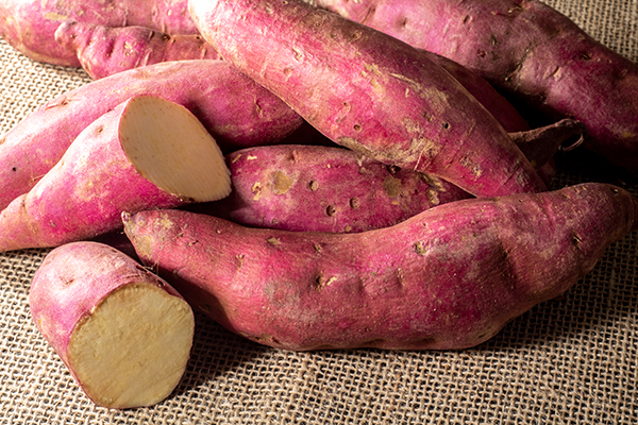
Kūmara history
The origins of kūmara (AKA Sweet Potato) are in South America; it’s believed Polynesian explorers voyaged there and brought back kūmara to the Pacific Islands.
Kūmara was first introduced into Aotearoa by Māori settlers a millennium ago. Because growing conditions are much colder than in Polynesia, Māori quickly acclimatised the plants and adapted their planting calendar to store kūmara over winter, then plant it out in summer.
The bigger kūmara cultivars we eat these days were introduced much later, again from South America – because kūmara was already firmly entrenched here as a dietary staple the new varieties were enthusiastically adopted by Māori and early European settlers.
How to grow kūmara in a garden
- Kūmara needs a 5-month growing season, with temperatures above 17°C. This explains why kūmara has traditionally been grown only in the warmer Northern parts of NZ. Wait until all chance of frost has passed before planting, kūmara won’t tolerate frost.
- Choose a sunny or part shade spot in your garden with very well-drained soil. Enrich the soil by digging in Yates Thrive Natural Blood & Bone.
- Start plants from kūmara slips (or tipu/tupu – they’re the sprouting runners from kūmara, similar to sprouted eyes on potatoes). You can buy the tipu from a garden centre in spring; or start early and sprout them yourself from a kūmara tuber. To do this, bury the tuber in a box of moist sand, in a warm spot (on a heat pad or in the hot water cupboard). When leafy shoots have sprouted up to about 15-20cm tall, gently tease their developing roots away from the tuber and place them in water with a splash of seaweed (continue to keep them warm) until you’re ready to plant them out.
- Make raised ridges or mounds about 20cm high with free-draining soil (mix in some river sand), about 1m apart. Insert the tipu into the prepared soil (50cm apart), with the rooted base only about 5-7cm deep under the soil surface, and the stems lying flat on their sides on top of the soil.
- Feed fortnightly with Yates Thrive Natural Fish Seaweed+ Plant Food Concentrate.
- Gently lift the foliage now and again, to stop the stems forming extra roots. This keeps the plant busy growing tubers, not putting energy into new runners.
- Harvest in early winter when the leaves turn yellow. First cut off all the foliage, then dig up the tubers carefully (don’t bruise them). Gently pile the tubers on top of the soil, cover them up with the cut off foliage and leave them there in the sun for a few days, to cure for storage. Store in a dry, well-aired location. The very old-school method of storing kūmara is in wooden boxes filled with sand or clean sawdust, or individually wrapping them in paper and placing them in a crate.
- Kūmara actually improves in taste during storage because part of the starch content turns into sugars (sucrose and glucose). The effect is boosted further by curing in the sun after harvest.
- Make sure your stored crop is protected from rodents!
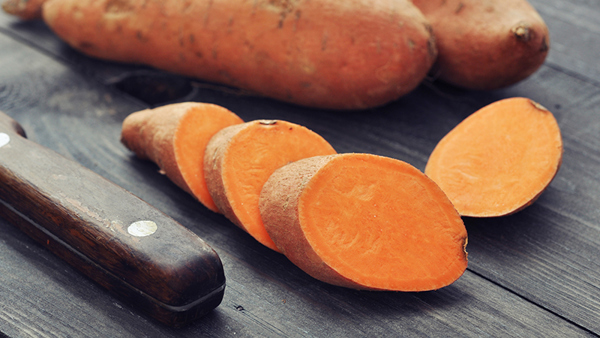

How to grow kūmara in a pot
For those of us living too far South to grow kūmara out in the garden, growing in a pot means it can be taken inside to protect from frosts, especially in the later growing season.
- Choose a pot at least 30cm deep and position in sun or part shade. Fill with quality potting mix, such as Yates Premium Potting Mix. Place either tipu or tubers into the potting mix, 5 - 7 cm deep.
- Water regularly through summer to ensure good sized tubers. Feed fortnightly with Yates Thrive Natural Fish Seaweed+ Plant Food Concentrate.
Growing tips
- Planting on a raised ridge makes for better drainage and easier harvesting.
- Kūmara don’t do well in clay or heavy soils. In this situation, making mounds or ridges out of sandy, free-draining soil is crucial, to keep the kūmara raised well above the clay.
- Curing fresh tubers in the sun for a few days before storage is an important step.





Share
Share this article on social media