







Yates Dynamic Lifter Organic Lawn Food
100% natural lawn food for a lush, healthy lawn. Contains composted chicken manure, blood & bone, fish meal and seaweed.
Create a Yates account today!
Sign up to join the Yates Garden Club for monthly e-mails packed with seasonal inspiration, tips for success & exclusive promotions.
Plus if you’re a Garden Club member you can take part in the Yates Growing Community - a blog to share successes, get advice & win prizes in fun challenges along the way!

Enter the email address associated with your account, and we'll email you a new password.
Spring is one of the busiest and best 'windows of opportunity' in the garden. Now's the time to fix any problems with your lawn, so it's healthy, green and ready for maximum summer enjoyment. Here's what to look out for, and lawn tasks to tackle.
Lawns can struggle through the winter period, because they can't grow fast enough to recover from the damage caused by regular foot traffic, active kids and pets, or cold, wet weather. If your lawn has taken a battering, spring is the ideal time to restore it. Lawns respond quickly to care and maintenance during their main growing season.
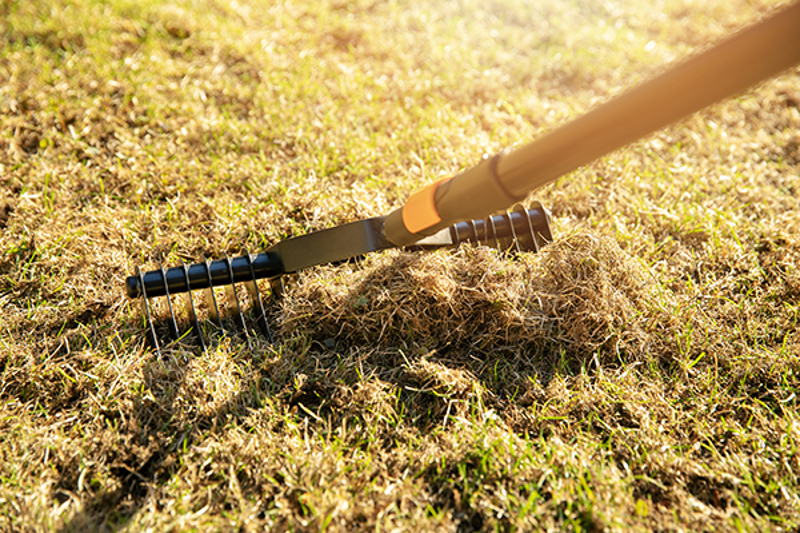
'Thatch' is the layer of organic material that builds up underneath your grass, on top of the soil. A small amount of thatch is beneficial, because it helps prevent evaporation, aids water retention and can increase tolerance to wear and tear. On the other hand, too much thatch can prevent water, oxygen and fertiliser getting down to the soil and penetrating to grass roots.
Soil microbes naturally break down dead thatch material in a healthy lawn. But in lawn soils with low microbial activity, it's harder for microbes to keep pace with thatch. This compounds the problem, as fast-thickening thatch can reduce the essential oxygen available to the soil microbes. In this situation, lawn health can be improved by de-thatching.
The best time to de-thatch established lawns is from mid-spring to early summer, so the weather is warm enough to encourage fresh new grass growth.
The thatch removal process is known as ‘de-thatching’ or 'scarifying'. This job helps water penetrate down to the root zone and kickstarts healthy grass growth. De-thatching can be done by mowing the lawn down to a low level (it reduces stress to grass if you do this over several mows, lowering the mower at each cut). Then, vigorously score the lawn with a strong rake to gouge and soften the soil surface and lift out the compressed thatch layer. A bladed thatching rake makes the job easier, by slicing into the top few millimetres of soil. De-thatching is hard physical work, but rotary lawn scarifier machines are also available from hire merchants as a labour-saver.
Apply lawn fertiliser and water it in well, after de-thatching. Yates Dynamic Lifter Organic Lawn Food is a great choice for this purpose: the rich organic ingredients will give your soil ecosystem a welcome boost. In turn, this delivers better grass nutrition and helps improve drainage and soil porosity.
It's difficult for air, water and nutrients to circulate through solid, compacted soil. This makes it much harder for microbes (and grass) to grow and flourish, so it’s a good idea to amend and improve areas of compacted soil by aerating it. Aeration is one of the keys to having a beautiful lawn. The aerating process allows water, air and nutrients to penetrate down into the root zone of your grass.
For small lawns, you can use a garden fork to aerate the soil. Simply push the fork down to about 10cm depth and give it a good wriggle back and forth to enlarge the holes. Work your way around the whole lawn, making rows of holes, spaced about 5-10cm apart.
Aeration can also be done using a hand coring tool, which punches out and removes small plugs of soil. Go for a coring tool with a foot bar so you can use your bodyweight to push it down firmly. Mow the area on a low setting and water the day before, to soften the soil. Aim to create 5cm-7.5cm deep cores across the compacted soil, spaced about 5cm apart.
Hand corers do a great job, but it's hard work! For large or severely compacted lawns, we'd recommend hiring a mechanical corer to save on physical effort, or just get in a contractor to do the job.
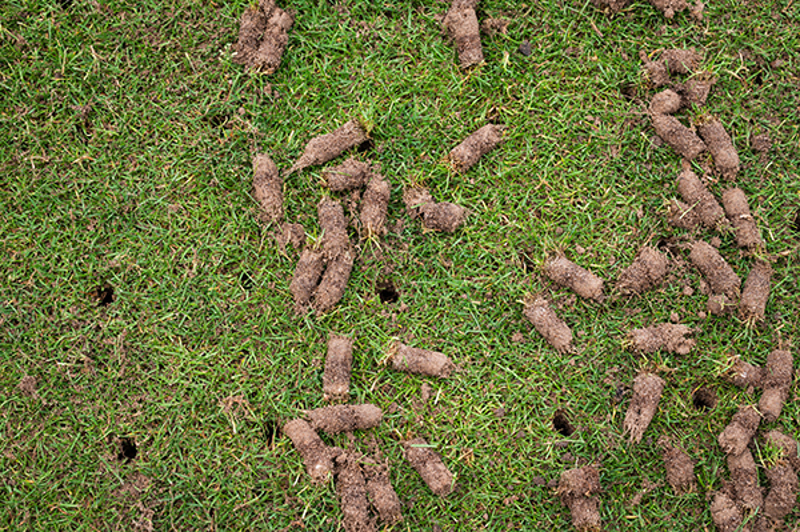
Topdressing can also correct bumpy or uneven spots, or bare tracks that have worn away where pets or kids play. To level out any low areas, begin by mowing the grass down low, then top dress the area with 80/20 sand and loam mix to bring the low spots up to the level you want. It's best to spread only a few centimetres in depth at a time to level out the area, and then water well. Check the result is level, and repeat if necessary.
Choose topdressing mix with a fine texture, to enable it to filter down to soil level. Following up with an application of Yates Dynamic Lifter Organic Lawn Food will quickly encourage new blades of grass to peep up through the layer of topdressing.
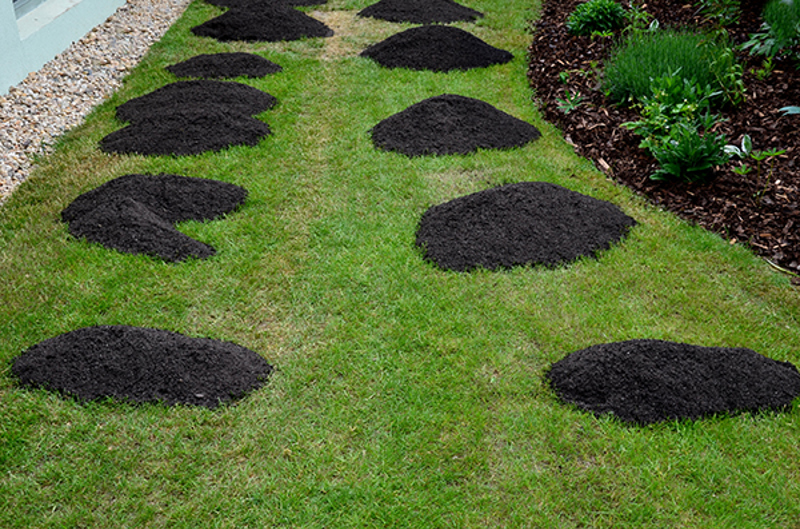
After you've aerated your lawn, topdressing it is highly recommended. Apply fine 80/20 mix (80% sand, 20% loam) over the whole lawn, at a rate of 1m3 of lawn mix per 100m2 (that works out to a mix depth of about 1cm). Lightly rake the dry mix, to settle it into the grass. If you work some of the mix into the holes left by the aeration process, your lawn will love it. Always water thoroughly after applying topdressing.
For topdressing after coring, a heavier application of 80/20 mix is recommended. Double the coverage depth, to 2cm. Gently rake the dry mix to fill the core holes, then water it in thoroughly.

Early spring is an excellent time to fix damaged, thin or patchy lawns, because it gives grass seedlings ample time to establish, before stress-inducing summer weather arrives.
Bare patches are ugly, but they're also a magnet for weeds to get established during winter. Here's the easy way to repair bare patches:
It's also common for established lawns to become thin and worn over time: over-sowing with new lawn seed will help thicken up and refresh them. For thin lawns, applying some lawn mix over the entire area can help improve new lawn seed establishment by providing a softer and loose surface.
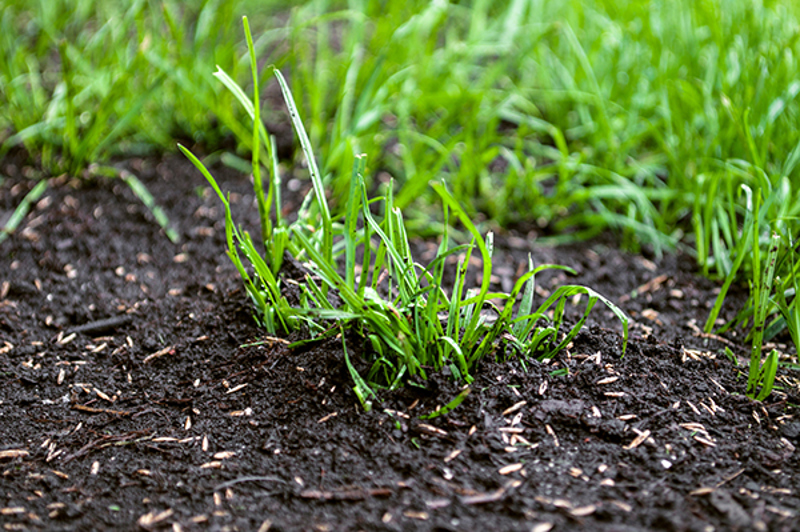
Alternatively, mix the required amount of lawn seed with a turf starter fertiliser, like Yates Lawn Fertiliser for New Lawns. This clever fertiliser is gentle enough not to interfere with seed germination, or burn delicate baby grass; plus it contains a rich blend of slow-release nutrients to gently kickstart your lawn. Mixing seed and fertiliser speeds up the application job, plus the fertiliser adds valuable organic matter to the soil and provides the new grass seedlings with gentle slow-release nutrients as they establish. If you've already sown your lawn seed, no problem; you can still apply Yates Lawn Fertiliser for New Lawns at any time after sowing.
It's a great idea to improvise some bird scaring devices while your tempting, tasty grass seed is germinating. Old CDs strung onto bamboo stakes work well. Christmas tinsel and brightly coloured ribbons fluttering over your sown area really help to keep bird losses under control. Or best of all, ask the kids to create you a scarecrow that flaps in the breeze and makes noises; then prepare to be amazed!

Water thoroughly and regularly for a few weeks until the grass is established. During the first few days of germination, make sure you don't let the seed dry out, at all. Allowing the soil to dry out even for a short time can halt germination and kill delicate embryonic grass. It's likely you'll need to water multiple times a day during the first few days, then continue to keep a close eye on the moisture after that.
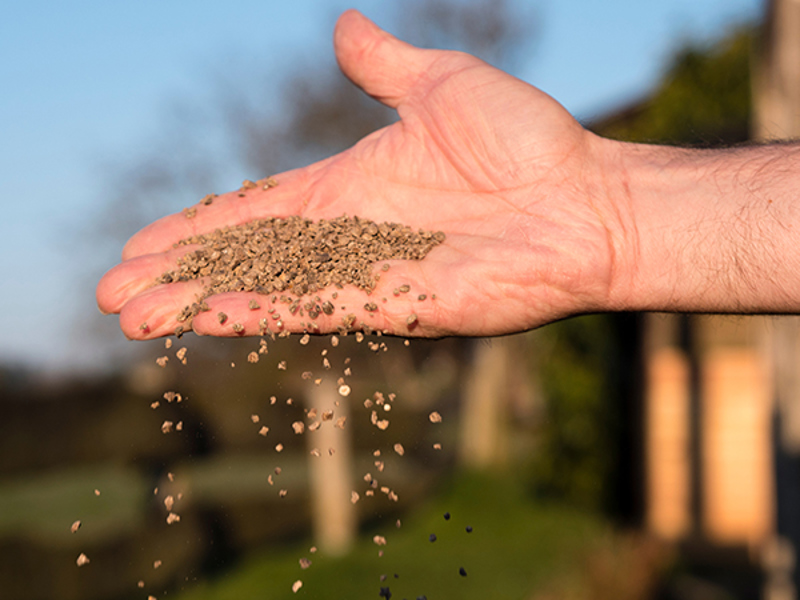
Grass needs a readily available fertiliser during late winter or early spring to wake it up for the key growing season. A healthy lawn won't need feeding again until late spring, but if your lawn started the season off in poor condition, a second application can be made 8 weeks after the first.
Yates Dynamic Lifter Organic Lawn Food, which combines composted chicken manure, blood & bone, fish and seaweed is ideal to enrich the structure of the soil. It does this by adding organic content that encourages earthworms and beneficial soil micro-organisms, that in turn help to improve the soils porosity (drainage) and air movement. This all makes it easier for your lawn to grow and root deeper into the soil.
In spring, there are real advantages to using a premium slow-release fertiliser. Reduced frequency of application is an obvious one, but avoiding surges or spikes in growth and nutrient overload is also a major benefit. Slow-release fertilisers perform consistently well throughout the year, because they supply just enough nutrients to match the grass’s needs, whether it’s dormant or growing flat-out. They tend to be more expensive than standard granular fertilisers, but we think the benefits make this type of fertiliser the best value for money.
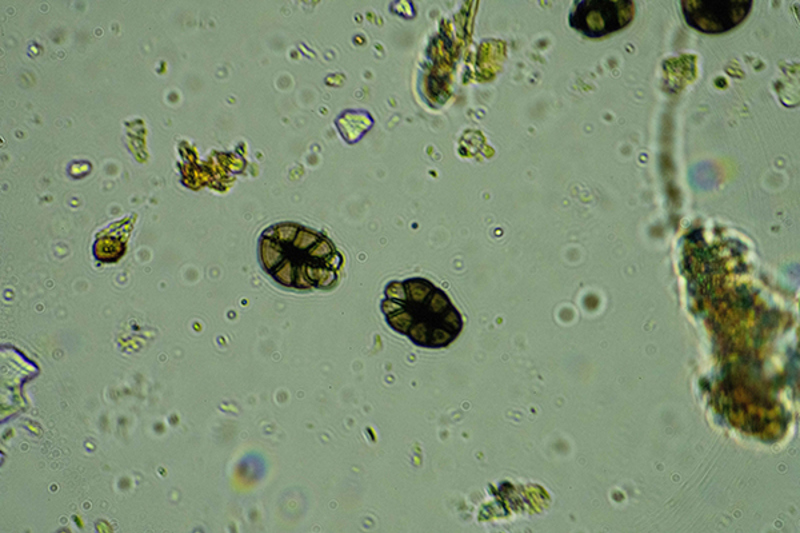
Keeping your soil microbes happy is the secret to a good lawn, because the microbes break down fertiliser into a form that lawn grass can absorb! When you feed your lawn, you’re actually feeding the soil microbes: they respond by feeding the grass for you. Your lawn grass and microbial soil community underneath it are in sync with each other, and with the seasons - when the grass becomes dormant, the microbes are also snoozing. As soil temperature rises and everything begins to speed up, grass nutrition is able to accelerate, because most of the nitrogen in slow-release fertilisers is actually 'unlocked' for grass by soil microbes.
For controlled release lawn foods, this means that nutrients are only supplied at the rate grass can use them; in comparison, the excess nutrients in fast-release fertilisers can go to waste at cooler times of the year. If you feed your lawn a big dump of fast-release nitrogen in cold conditions, it won't be completely absorbed - the excess nitrates can remain in the soil and will eventually leach into groundwater.
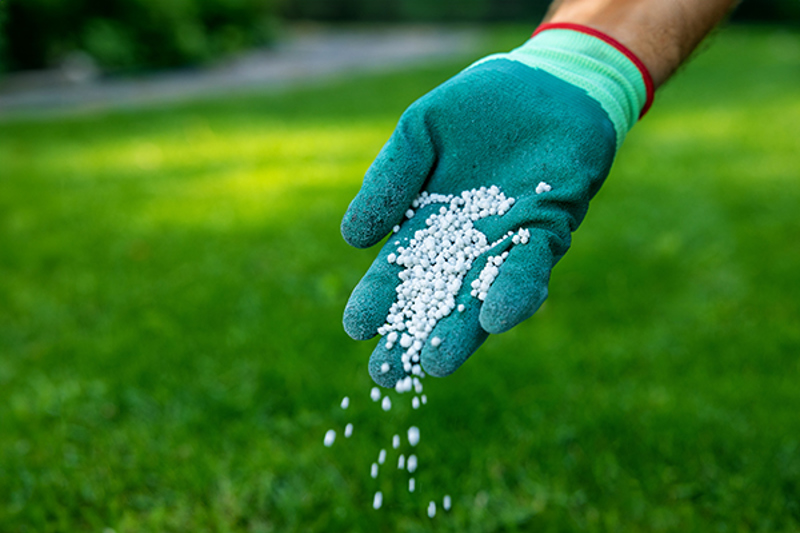
Yates Lawn Fertiliser Twice A Year is a premium controlled release granular fertiliser, suitable for all New Zealand lawn types: including kikuyu, ryegrass and fescue. It gradually releases nutrients for up to 6 months, so you achieve a long-lasting consistent result, without surge growth.
Yates Lawn Fertiliser Quarterly is a clever granular lawn food that combines the benefits of both fast-acting and gradually released nitrogen: the fast release component provides rapid results in 7 days, while the slow release feeds over a prolonged 12 week period.
You'll get the best results from applying fertiliser regularly, at the intervals suggested on the label. Don’t wait until the lawn starts to look hungry, because reviving a nutrient-depleted lawn always takes more time (and $) than sticking to a regular fertilising schedule does. The fertilising rule of thumb is ‘light and frequent’, for best results.
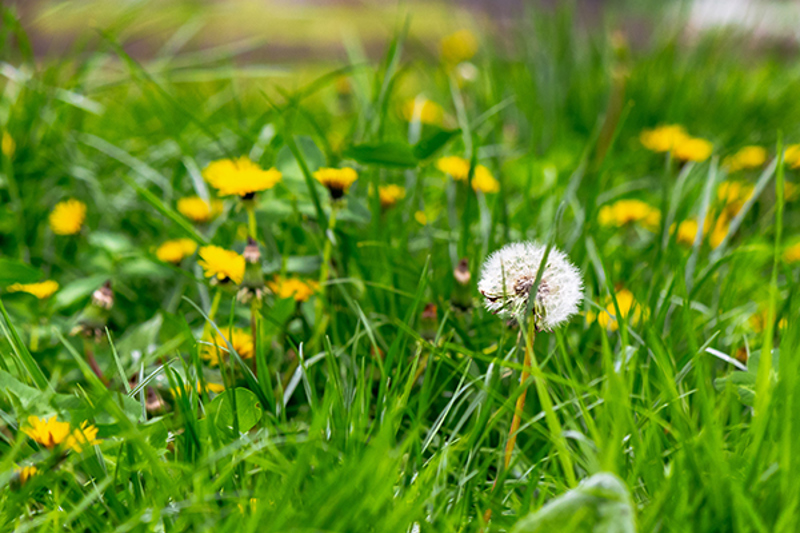
It's important to control broadleaf weeds, because they'll directly compete with your new grass. Fortunately, it’s simple to control lawn weeds with a selective herbicide. This is the type of weedkiller that removes weedy invaders without harming your lawn grass.
The simplest way to get rid of weeds like dandelion, clover, capeweed and thistles in your lawn is with Yates Weed n Feed Double Action Hose On. It's ideal for cool-season grass types like fescue, tall fescue, perennial ryegrass and bent/browntop.
Pro Tip: If you're over-sowing grass seed it pays to time your weedkiller applications carefully. Selective lawn weedkillers can affect the germination rate of grass seed, if you sow too soon after you've applied weedkiller. The rule of thumb is to wait for 4-5 weeks after using lawn weedkiller, before you sow grass seed onto the treated area; this ensures you get peak grass germination and excellent results from your hard work.
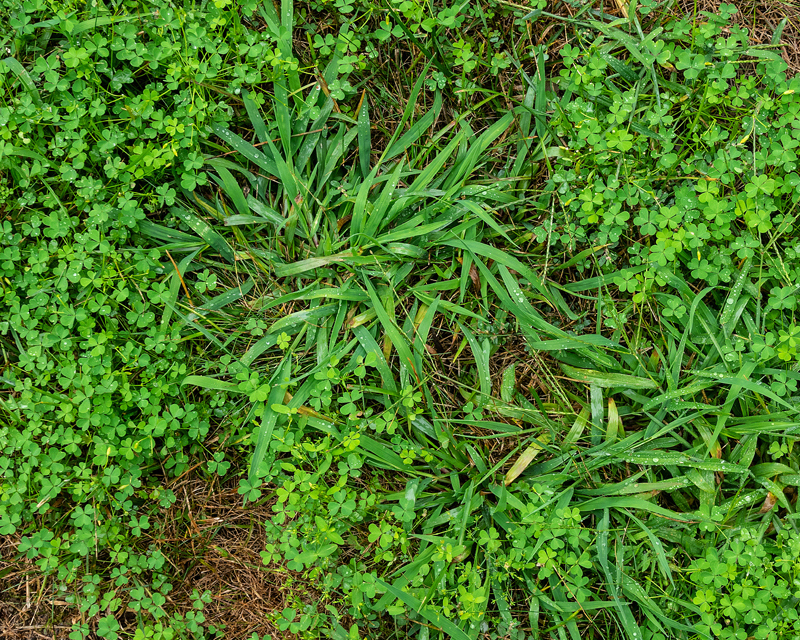
If you aren't oversowing, weeding is much more straightforward. If you didn't get onto the weeds back in autumn, it's not too late, but make sure you move fast! Many weeds will be starting to flower and set seed; these will happily germinate new weeds in your lawn next autumn. If you control them now before they have a chance to set seed, next season will be easier to manage.
Yates Turfix Lawn Weed Spray is our go-to choice if you don't mind using a sprayer or lawnboy. It's effective against a very wide range of lawn weeds, so an application in spring (and another in autumn) will give you excellent results.
Remember the kids complaining about prickles in their feet over summer? Your window of opportunity to control Onehunga weed before it flowers and forms prickles, closes in late spring. Yates Prickle Weedkiller is our go-to product for this nasty little weed.
You might also encounter one of the persistent offender lawn weeds that you'll need to call in the big guns for - native hydrocotyle and creeping oxalis are examples. To get on top of these difficult weeds, choose Yates Hydrocotyle Killer for the job.
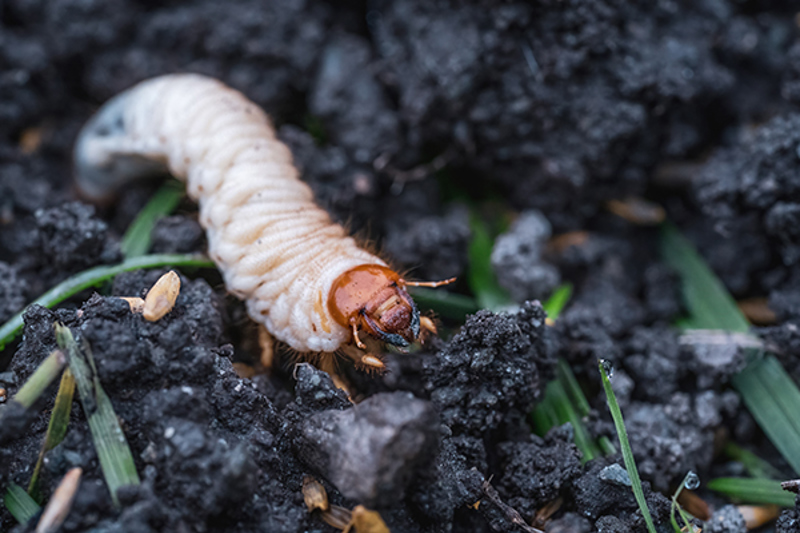
During the first half of spring, it’s quite common to encounter severe symptoms of a grass grub or porina infestation.
By the time spring arrives, grass grubs have been chewing steadily on your grass through the winter, causing increasing damage as they grow larger. Although the damage to the lawn is already done, it’s still an ideal time to ‘take care of them’ because the adults will be flying and laying eggs in spring.
Grass grubs are the larval stage of the native grass grub beetle. They emerge from lawn soil as adult beetles, from late spring until summer. The beetles are attracted to light, it’s common during the second half of spring to see them buzzing around street lighting. If your outdoor lighting is close to your lawn area, consider turning it off during spring, or avoid using it for extended periods so it doesn't look like an airport runway for beetles.
The classic symptom of grass grub infestation is brown dead patches developing in the lawn. If plants in your garden or pots are wilting despite being well watered, that’s also a sign. These symptoms will begin to appear earlier in winter but will be at their most dramatic by the time spring arrives.
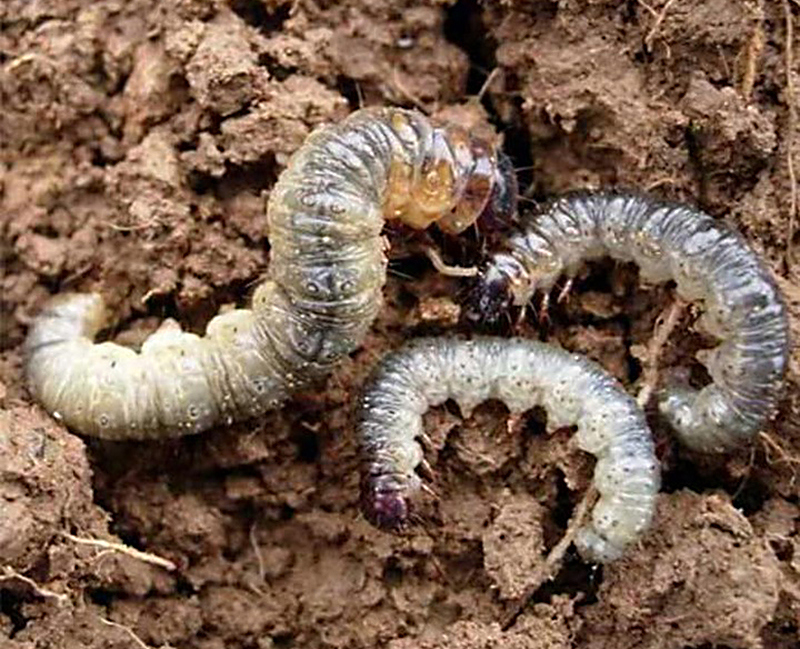
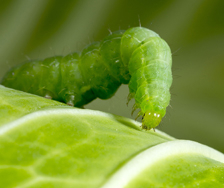
Porina caterpillars are the larvae of NZ native porina moths. The nocturnal adult moths fly in large waves in spring and autumn, laying thousands of eggs. Lawn damage in winter and spring is caused by the moth flight from the previous autumn. The spring moth flight’s caterpillar symptoms show up between autumn and early winter.
Porina caterpillars emerge from burrows in the soil and graze on your grass at night. They don't move far from their burrows, so their grazing leaves distinctive bare soil patches with pencil width holes in the centre. These caterpillars don't feed on roots like grass grubs, they nip off grass stems then drag the grass into their burrows to eat it.
The good news? We have a really effective solution for both of these destructive pests (it controls lots of other pests too). Yates Lawn Grub and Porina Kill + Protect delivers excellent preventative control against grubs and caterpillars. It continues to perform for some time, giving you up to 6 months protection.
Keeping your lawn strong and healthy really helps it to resist pest pressure. Give your lawn a weekly deep watering, mowing at a higher level and feeding it regularly with Yates Dynamic Lifter Organic Lawn Food.
Yates Insect Killer for Lawns is a great solution to control surface-dwelling lawn pests, like African black beetles or armyworm.
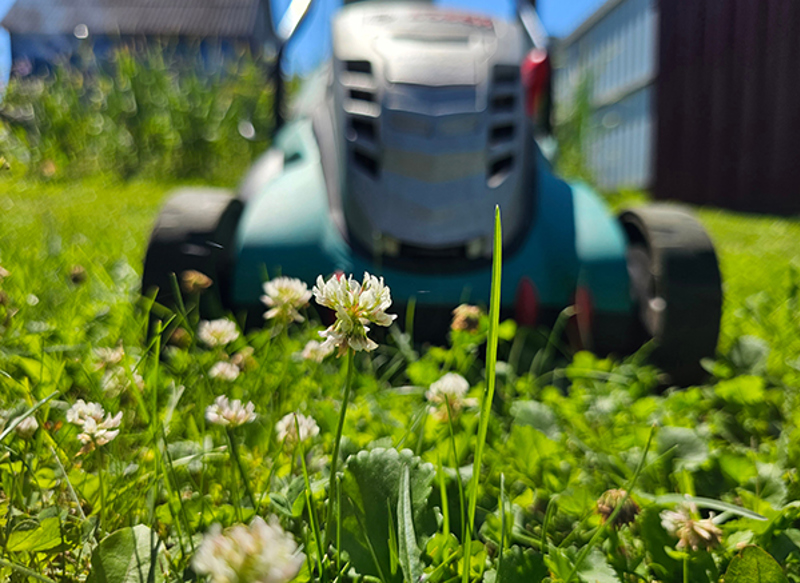
When did you last sharpen your mower blade? If the answer is "last autumn", you get a pat on the back. If that's not your answer, well, it's time for a sharpen! Sharp mower blades make a cleaner cut and cause less stress to the grass, which helps it recover faster. Blunt blades rip and tear the grass. If you look closely at the cut end ends of fresh mown grass, and you can see tiny strings of fibre along the cut where it's frayed and damaged, it's time to sharpen your blades.
If you've been leaving your lawn longer over the winter, don't cut it savagely short just because it's spring; this can stress the grass and hold back spring growth. For the first cut, don't cut more than a third off its length....just a slight trim is best. Wait until the soil warms up and grass is noticeably growing before you cut it. After that, cut as frequently as possible, but remove as little growth as possible during each mow.

For established lawns, cut cool season grasses (e.g. ryegrass, fine fescue, tall fescue or browntop) to between 3cm and 10cm, and cut warm season grasses (e.g. kikuyu or couch) shorter, to 2.5cm high. Keeping the grass long allows for more photosynthesis to really get the lawn cranking, but during a very wet spring shorter is better, to discourage lawn diseases.
If you’re not sure what type of grass you have, it’s a likely bet that your lawn will be a cool season blend in NZ. Usually, warm season grasses are found in coastal areas, in the warmer parts of the country.


Share
Share this article on social media